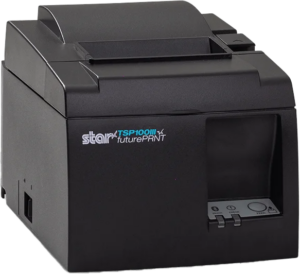
 This topic covers how to setup Star TSP100 and TSP143 thermal receipt printers for use with the Grindless Point of Sale system.
Setup
Procedure:
- Connect your printer to power and power it on, then connect a USB cable between it and your point of sale computer.
- Hint: Receipt printers in particular are sensitive to USB hubs/splitters. It’s strongly recommended to plug the printer directly into the computer and not through a hub. If you do use a hub, use one that has its own power supply and wall adapter.
- Some Star printers have the option to connect them to a PC over a local network using an ethernet cable, or directly to a PC wirelessly via bluetooth. This topic does not cover these types of connection methods, however, you may consult the manufacturer’s user manual for instructions. Once the printer is connected and your PC can see it as a target printer, the rest of these steps apply.
- Download the “Future Print” software from the manufacturer’s website here: TSP100 futurePRNT Software Full. This download contains the driver for the printer and its setup/configuration utility.
- Open your downloads folder and extract the file you just downloaded. Right click on the ZIP file and extract it, then open the folder that contains the files you just extracted.
- Run the setup program for the Future Print software: Setup/Setup.exe. Click next and agree as needed through each step. You don’t need to change any options during installation, just click next until it’s done installing.
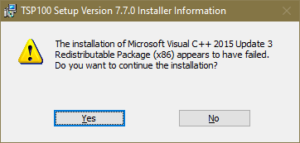
- Hint: The installer might give an error about Microsoft Visual C++ failing to install. This is okay. This usually means that you already have it installed and so their app can’t install it again (their installer doesn’t handle this situation properly). Click Yes/Continue if asked.
- Hint: The installer might give an error about Microsoft Visual C++ failing to install. This is okay. This usually means that you already have it installed and so their app can’t install it again (their installer doesn’t handle this situation properly). Click Yes/Continue if asked.
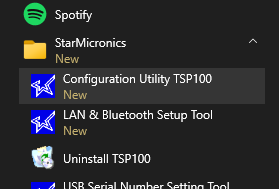
- Open your Windows Start menu and find the Star Micronics folder.
- On Windows 11, you may need to click “All Apps” before you can see the full list of programs.
- Hint: do not go into the Installed Apps in the Settings area. This is not what we’re looking for.
- From the Star Micronics folder, open “Configuration Utility TSP100”.
- If you get the error “No usb printers detected”, do not proceed to add a LAN/bluetooth printer (unless that’s how you are connecting your Star printer). When using a USB cable, you should not see this error and this indicates there’s a connection problem. Reset the printer and check your cables.
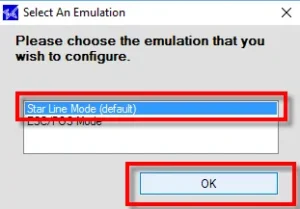
- If the app asks you what mode to use to access the printer, choose the first/default option (Star Line Mode).
- On the left side menu, click OPOS.
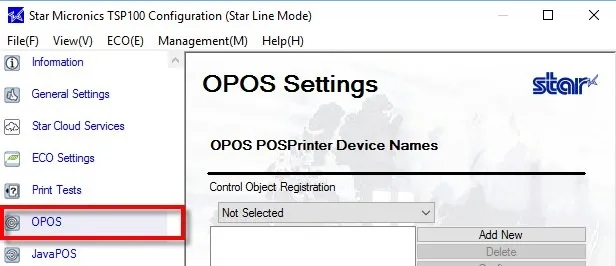
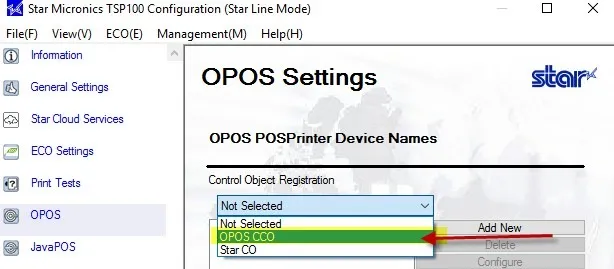
- Make sure the “Control Object Registration” menu has “OPOS CCO” selected.
- Click Add New.
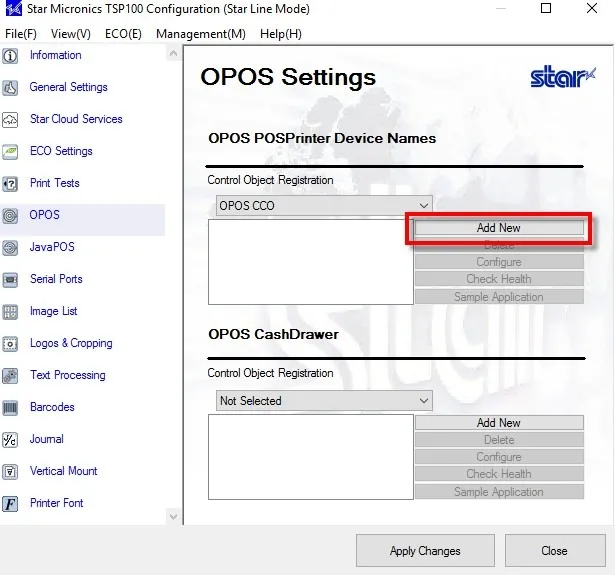
- A new window will appear. You can leave the default name or change the printer name then click OK.
- Click on Apply Changes.
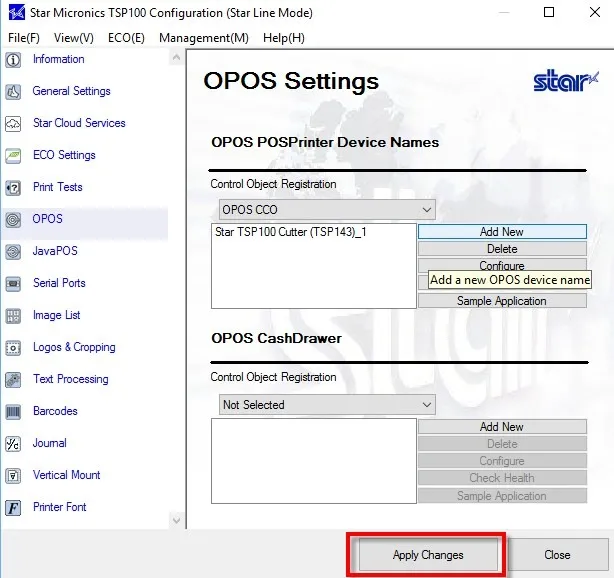
- Select the printer name (E.G. Star TSP100 Cutter (TSP143)_1 )and click Configure.
- A new window will appear. Add a new Logical Device Name (LDN) for this printer and give it a name, then save and return to the main OPOS settings window.
- By default, the Grindless POS looks for printers that are named “POSPrinter” (case sensitive). We suggest using this name so you don’t need to change the LDN that the the POS looks for later.
- Select the printer name (E.G. Star TSP100 Cutter (TSP143)_1 )and click Check Health.
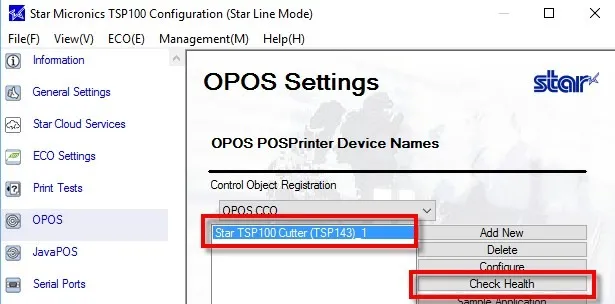
A message should appear on your computer that Check Health was successful. A small receipt will print with some diagnostic information. - (optional) After adding your printer, move on to adding a cash drawer as an OPOS device in the same way you just added your printer as an OPOS device.
- Use the LDN “CashDrawer#1”. Don’t change the number to reflect your current register number. This number refers to how many cash drawers you have plugged in to this computer, so it is different than the Register Number in Grindless. Just set it to CashDrawer#1 on each of your POS stations.
- From the Grindless POS app, login and go to Settings > Device Settings and ensure the “Print Method” option is set to “Modern Client”. Click Save if needed.
- Print a test receipt. The easiest way is to go to Reports > Completed Orders and printing a receipt for any order. Inspect it visually to ensure it is printing correctly.